1. Creating a Label Widget
We have already seen how to create a label in the previous tutorial by importing the Label class:
from kivy.uix.label import Labelcode to display a 'Hello World!' label
from kivy.app import App
from kivy.uix.label import Label
class myApp(App):
    def build(self):
        lbl=Label(text='Hello World!')
        return lbl
myApp().run()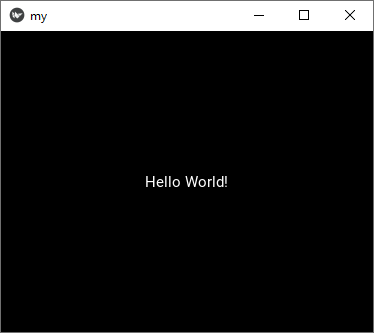
2. Change the label style
2.1 - Change the font size
The label font size can be changed easily using the font_size property:
from kivy.app import App
from kivy.uix.label import Label
class KivyLabelSize(App):
     def build(self):
          return Label(text = "Hello World", font_size = '50')
KivyLabelSize().run()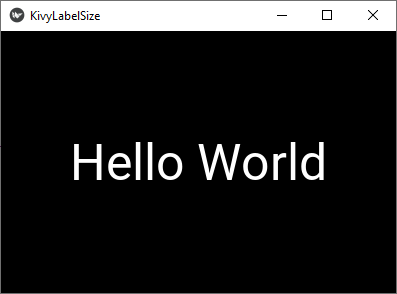
2.2 - Add a style to the label text
We will now see how to change the styles of the text within the label, for example writing in bold, italics, changing color, underline and much more using tags. The markup used by kivy is the BBCODE:
[u] Underline a text [/ u]
[b] Bold text [/ b]
[i] Text in Italic [/ i]
[color = name_of_the color] Bold text [/ color]
Example: applying a text style to a label
from kivy.app import App
from kivy.uix.label import Label
class KivyLabel(App):
    def build(self):
        return Label(text='[color=#FFFF00]I learn[/color]  [b]Kivy[/b] With [u]MyCourse.NET[/u]',
                     markup = True,
                     font_size =30)

KivyLabel().run()

Younes Derfoufi
my-courses.net
my-courses.net