
1. Django Installation Guide
Once you have successfully set up your Python environment, the next step is to install Django. To install the latest version of Django, follow the instructions below:
Type in the cmd command:
pip install django
The aforementioned command will install the most recent version of Django.
2. Creating a Django Project
To initiate your first Django project, utilize the following command:
django-admin startproject myproject
After executing the aforementioned command, a Django project will be created. In this case, 'myproject' represents the name of the project.
3. Django project structure
The resulting project structure will resemble the following:
│───manage.py
│
├───myproject
│       asgi.py
│       settings.py
│       urls.py
│       wsgi.py
│       __init__.py
Let's provide a brief overview of these folders and files.
- manage.py: This is an essential Python .py file that serves as a command-line utility, similar to the django-admin command-line utility. Using 'python manage.py,' we can interact with various aspects of Django projects. In a later article, we will delve into the details of all the manage.py commands.
- db.sqlite3: This file represents a sqlite3 database. SQLite3 is a serverless file-based database system that requires no additional configuration.
- myproject: This directory or Python package contains the following files:
the functionality of the Web Server Gateway Interface. ASGI allows for asynchronous handling of web requests in Django.
- settings.py: This file is crucial for all Django projects as it holds all the important settings and configurations specific to the project. It includes database connections, middleware, installed apps, and more.
- urls.py: This file contains the project's URL patterns or routes. It maps URLs to corresponding views or endpoints in the Django project.
- wsgi.py: This file is primarily utilized during the deployment of the Django project. It serves as a calling convention for a web server to forward requests to the web application, enabling the project to run under a WSGI (Web Server Gateway Interface) server.
4. Run Django Server
Once you have completed all the aforementioned steps successfully, it's time to start our Django project. One of the fantastic features of Django is its built-in development server, which allows us to run our project on our local machine.
To launch the Django development server, execute the following command:
python manage.py runserver
When the above command will run successfully, you have to visit http://127.0.0.1:8000/ address to see the Django application user interface.
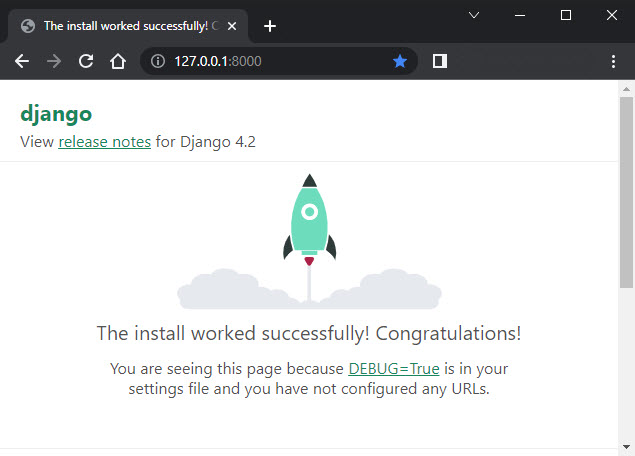
I understand that the current user interface may not be visually appealing, as we haven't worked on a real-life project yet. Our first Django application simply utilizes the default user interface provided by Django. In future Django articles, we will explore designing more sophisticated and aesthetically pleasing user interfaces.
5. Conclusion
In this article, we covered the process of creating your first Django project. I hope that this guide has cleared any confusion you may have had regarding the creation of a Django project. We will see in the next tutorials, how to create real complex projects step by step.