
In this article we will show step-by-step how to deploy a Django project on the PythonAnywhere. PythonAnywhere is a service, like Heroku, Digital Ocean, Scala hosting, Django Europe... that gives us access to a server where we can host our Django application. They have a free offer that allows you to create a web application with limited functionality.
1 - Create an account on PythonAnywhere
The first step is to create an account on PythonAnywhere by going to the registration page. For basic needs you can create a free account which will allow you to create a web application.
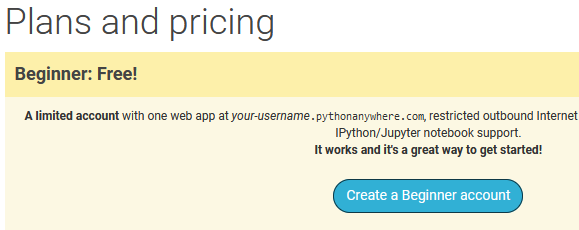
The free account has some limitations:
- You can only create one application.
- You must click a button every 3 months in the site interface to keep the site online.
- You cannot use a PostgreSQL database.
2 - Create your project on PythonAnywhere
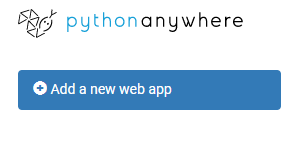
Once your account is created, you can create a web application by going to the Web tab.

Click on "Add a new web app" to create an application.
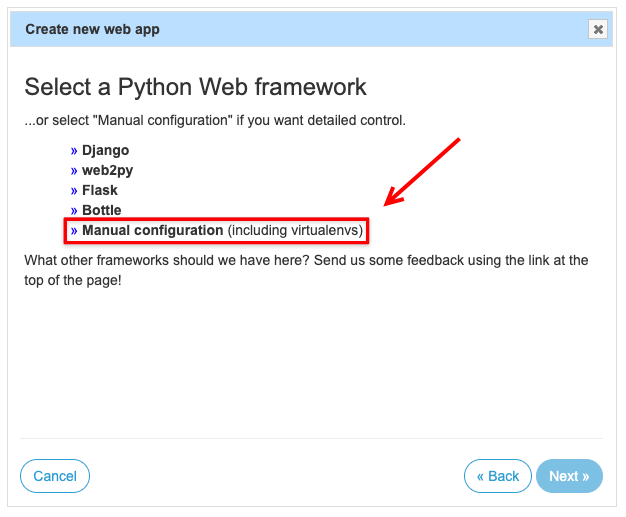
Click "Next" and choose the manual configuration:
Then choose the version of Python you want to use for your project:
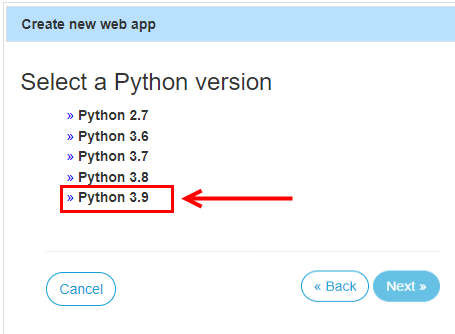
Your application is now created !
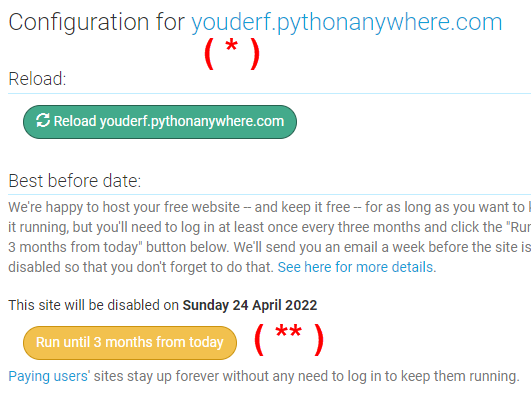
You can access your temporary website at the address indicated (*). You also notice the famous button (**) on which you will have to click at least once every 3 months with a free account so that your site remains active!
3 - Necessary settings for your django project
3.1 - The settings.py file
In the settings.py file add the address of your pythonanywhere application to the allowed host list:
ALLOWED_HOSTS = ['youderf.pythonanywhere.com']3.2 - The requirements.txt file
The requirements.txt file must be created locally before submitting the project to Github. To create one, execute the command:
pip freeze > requirements.txt4 - Create an account on Github
4.1 - To start, create a Github account
4.2 - Deploy your project on Github
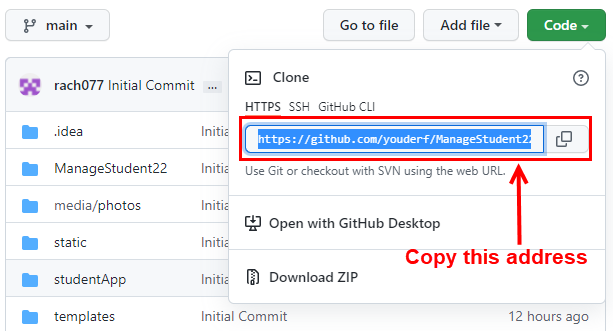
4.3 - Under the code tab copy the clone address of the project: https://github.com/youderf/ManageStudent22.git
5 - Clone the github repository to your pythonanywhere space
We will now clone the Github repository to our PythonAnywhere server. Go to the Consoles tab and click on Bash to open a terminal on your server and type:
pwd and then the address of your git repository:
git clone https://github.com/youderf/ManageStudent22.git6 - Create a virtualenv and install django for your app
To create virtualenv for your application, type in the terminal:
mkvirtualenv --python=python3.9 ManageStudent22-venvand then install django by typing in the same bash console:
pip install django7 - Configure youre django app
We are now in the final phase, we just have to configure our app. In the code section: you must specify the location of the system files of your project then put:
/home/youderf/ManageStudent22In the WSGI configuration file delete all content of this file and replace it by:
import os
import sys

# add your project directory to the sys.path
project_home = '/home/youderf/ManageStudent22'
if project_home not in sys.path:
    sys.path.insert(0, project_home)

# set environment variable to tell django where your settings.py is
os.environ['DJANGO_SETTINGS_MODULE'] = 'ManageStudent22.settings'


# serve django via WSGI
from django.core.wsgi import get_wsgi_application
application = get_wsgi_application()
Remark
And finally int the section virtualenv you must indicate the path to your virtualenv:
home/youderf/.virtualenvs/ManageStudent22-venvNow if everything is correct, you can access your web application via the address provided by pythonanywhere: http://youderf.pythonanywhere.com/

my-courses.net